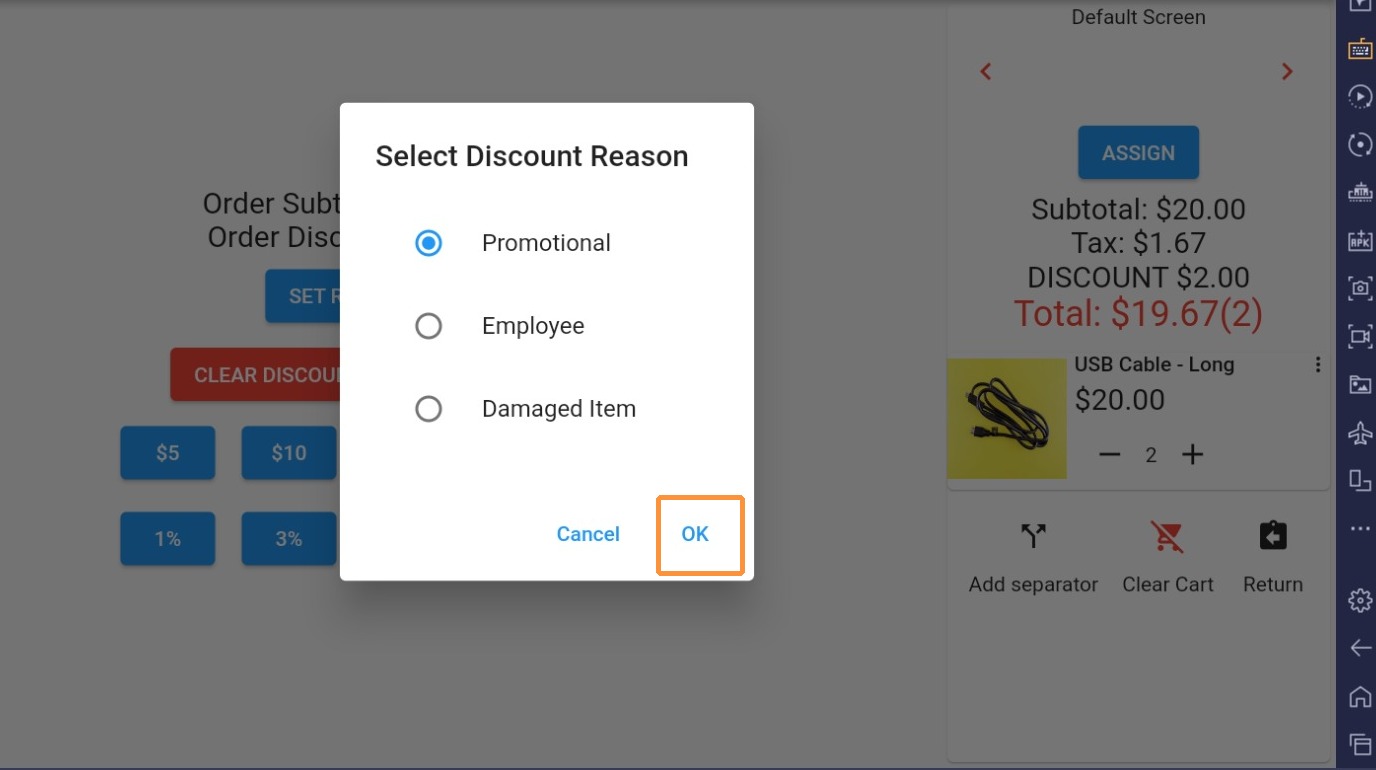


This guide quickly shows how to add custom discount reasons in the backend so they appear in the app. Follow it to centrally manage reasons for discounts, keep staff using consistent labels, and ensure the POS reflects those options at checkout.
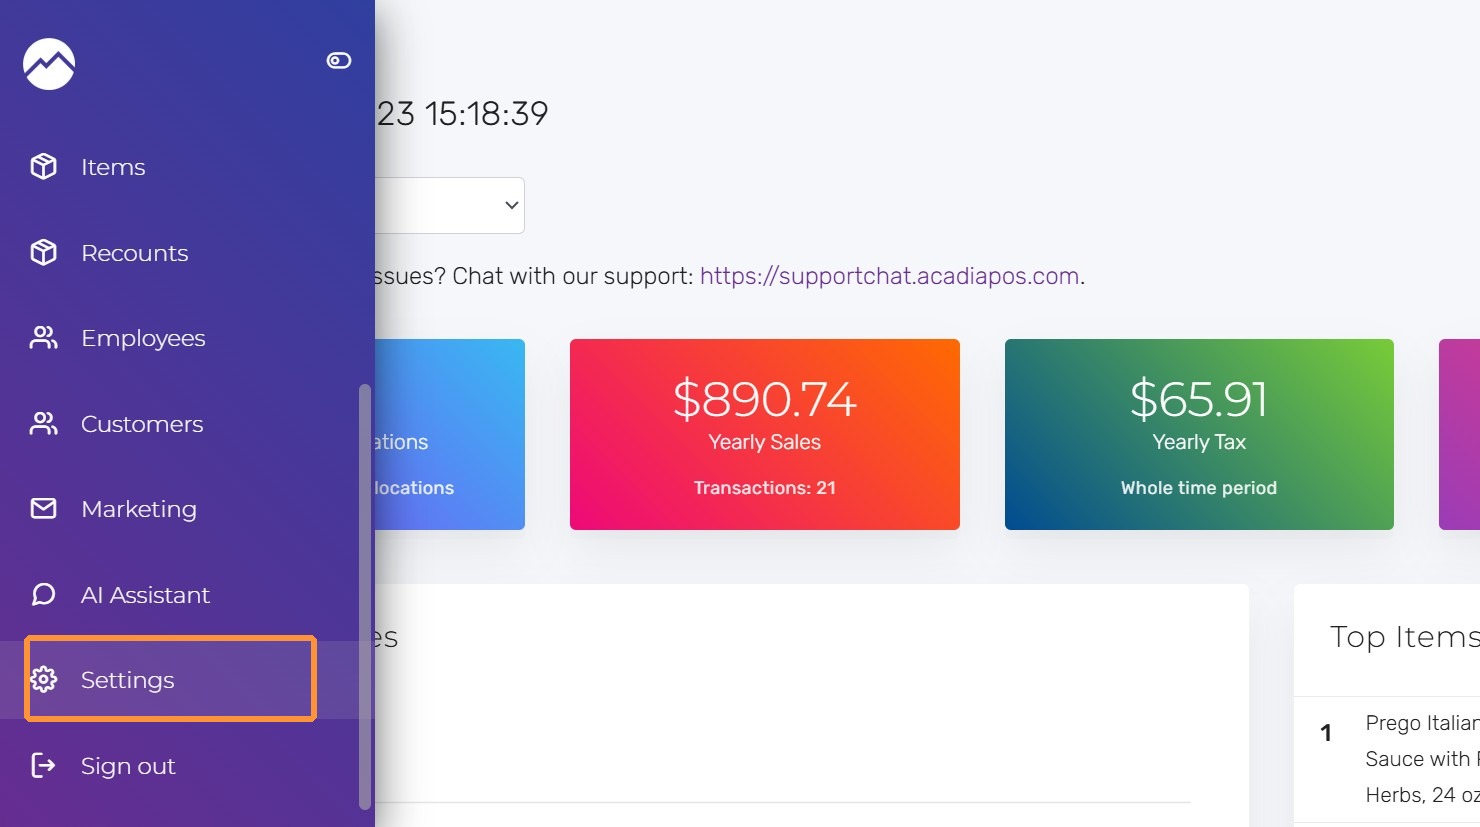
1. Navigate to manage.acadiapos.com for Retail or rfsm.acadiapos.com for Restaurant and click Settings in the sidebar menu.
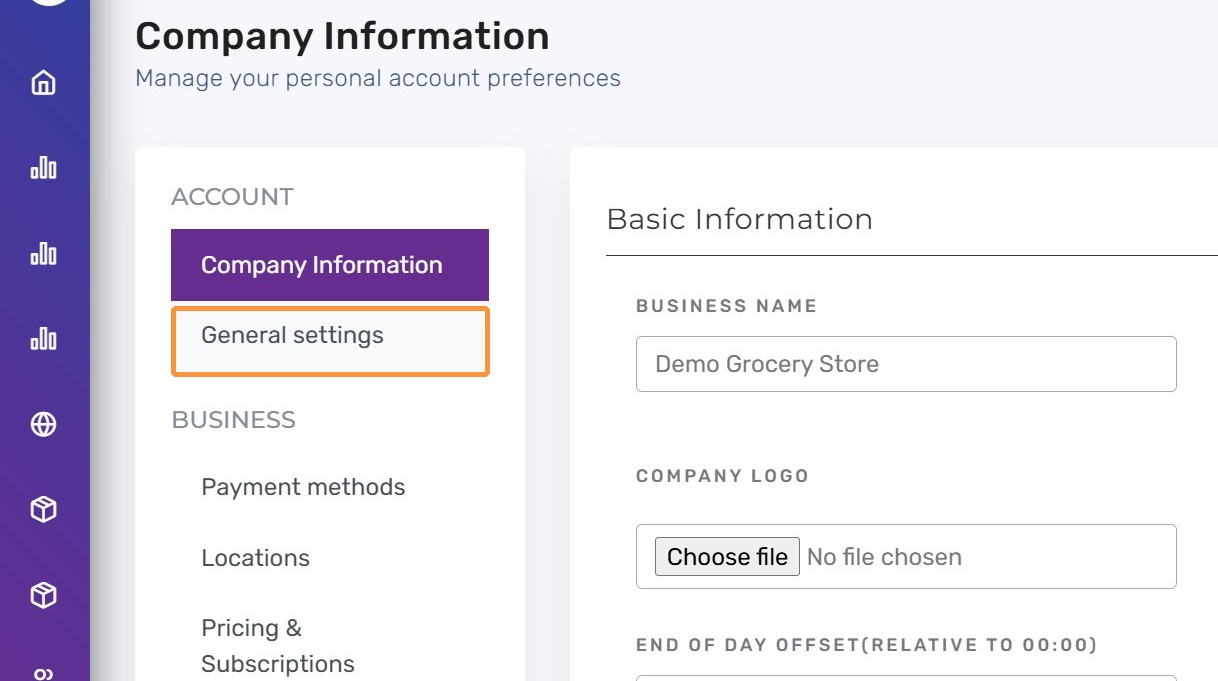
2. Click “General settings”
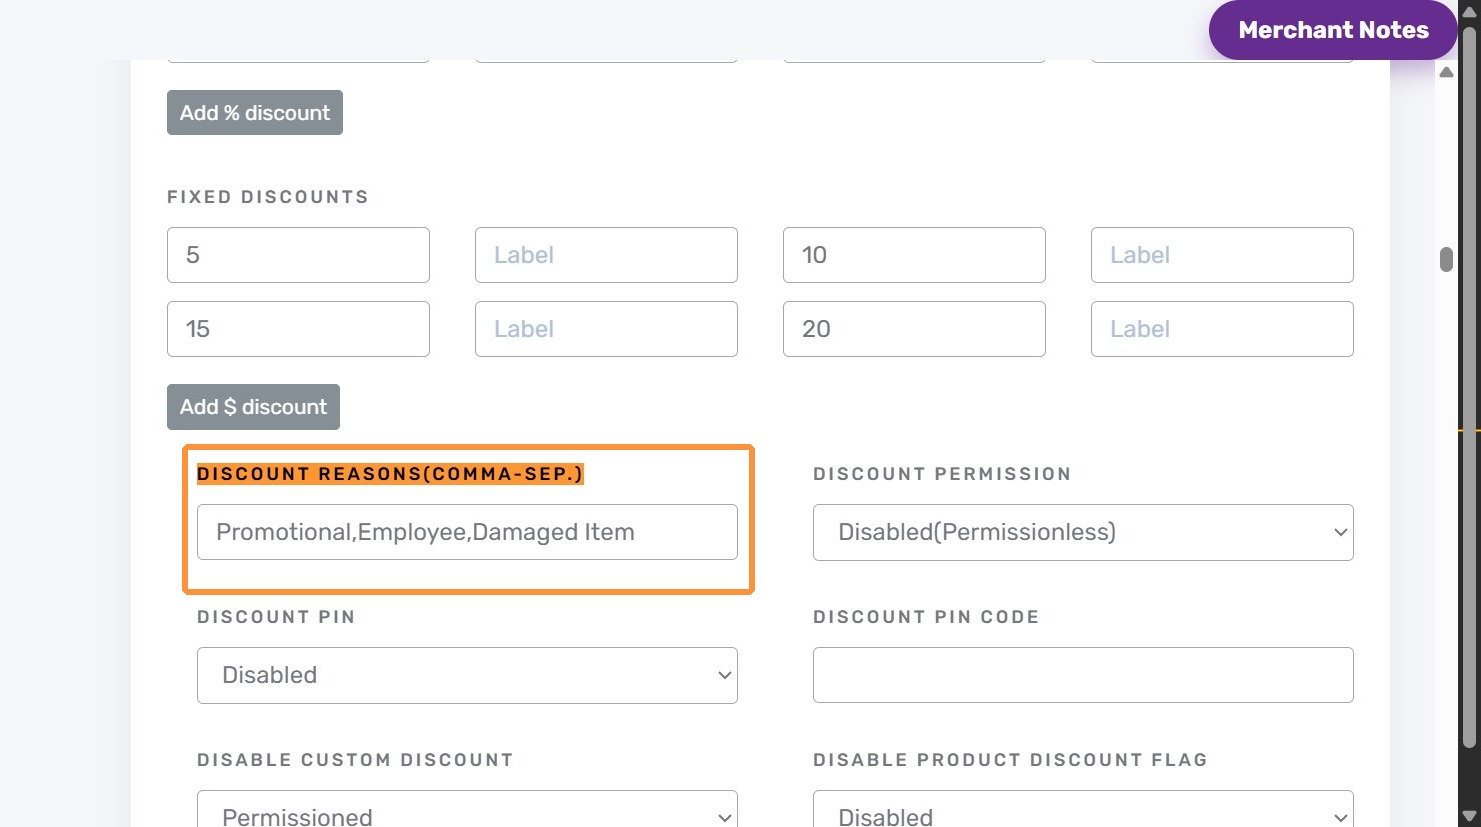
3. Press Ctrl + F (Windows) or ⌘ + F (Mac) and find “Discount Reasons”
Enter the reasons separated by a comma in this field. Example: Promotional,Employee,Damaged Item
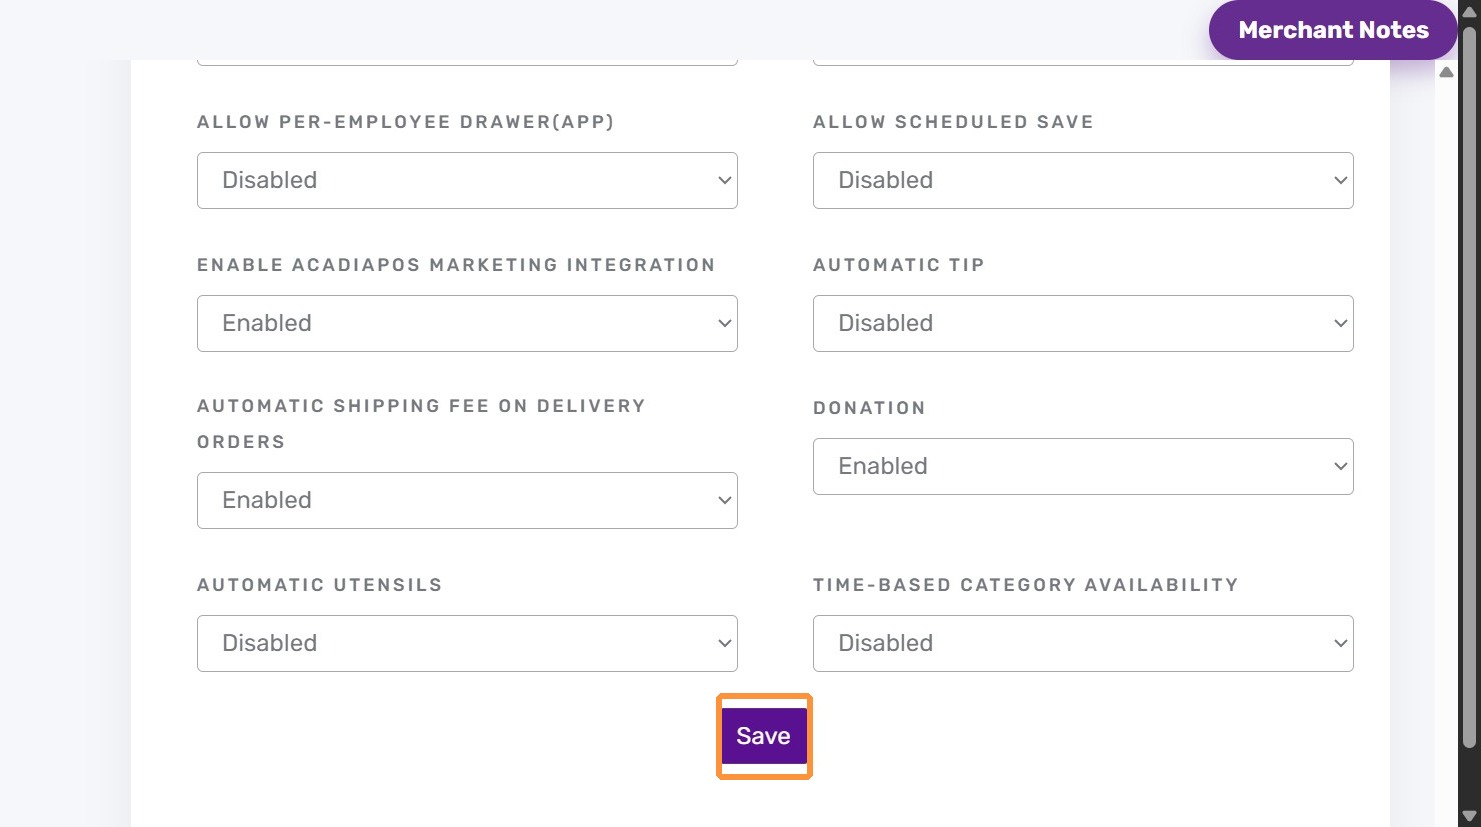
4. Click “Save”
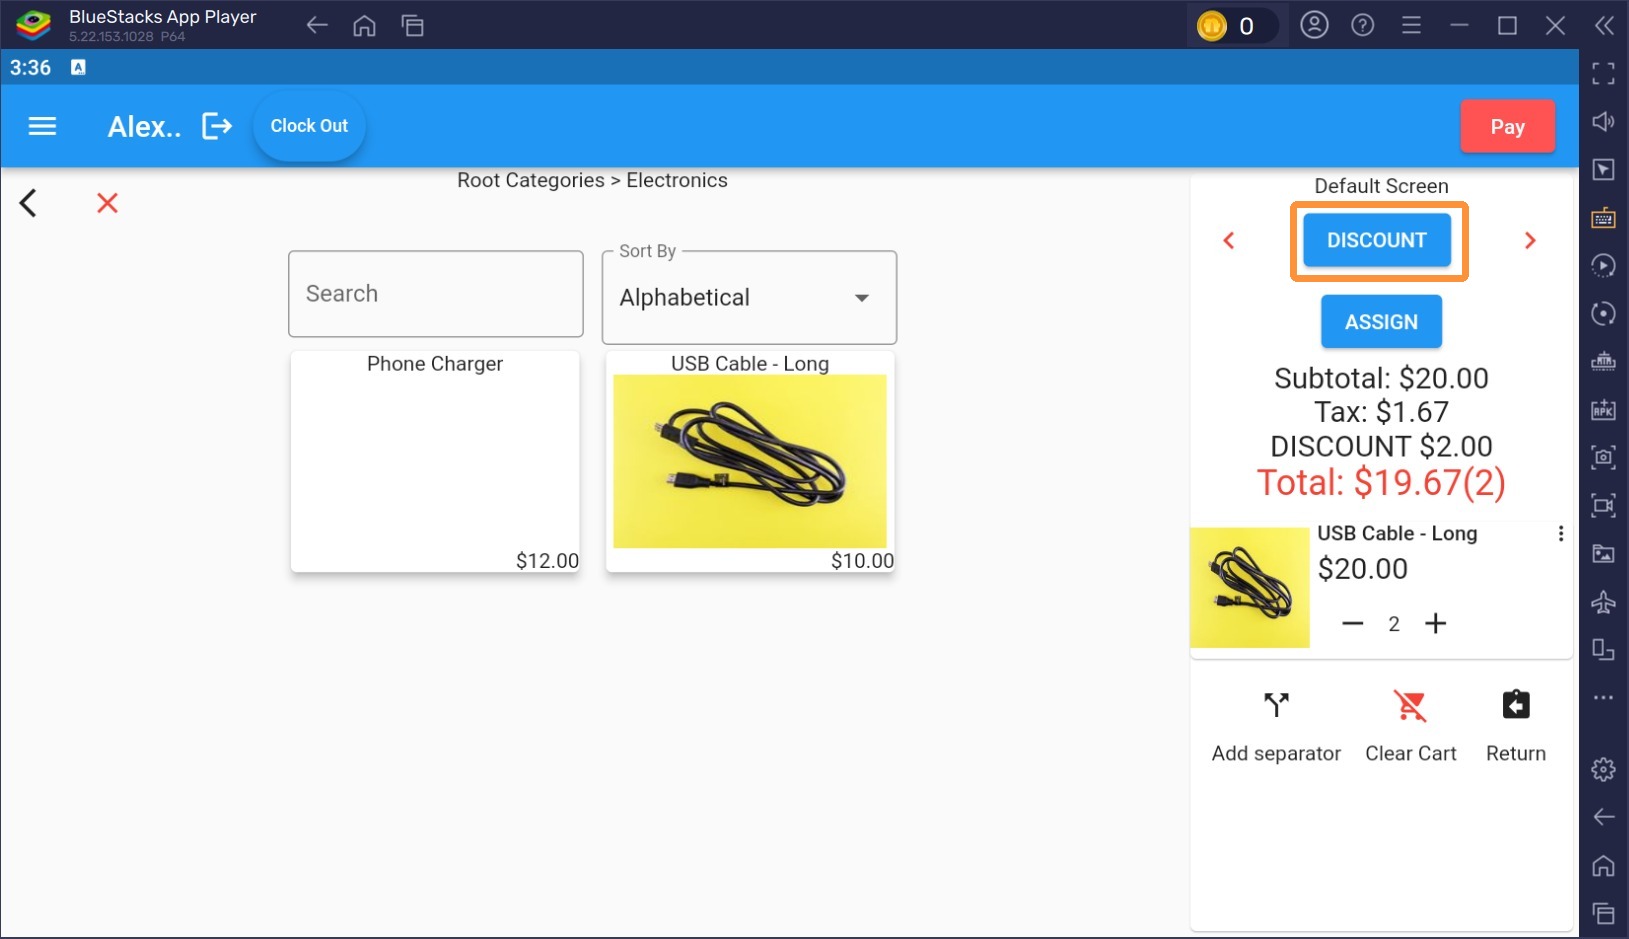
5. Navigate to AcadiaPOS app, click “Discount” button in the cart
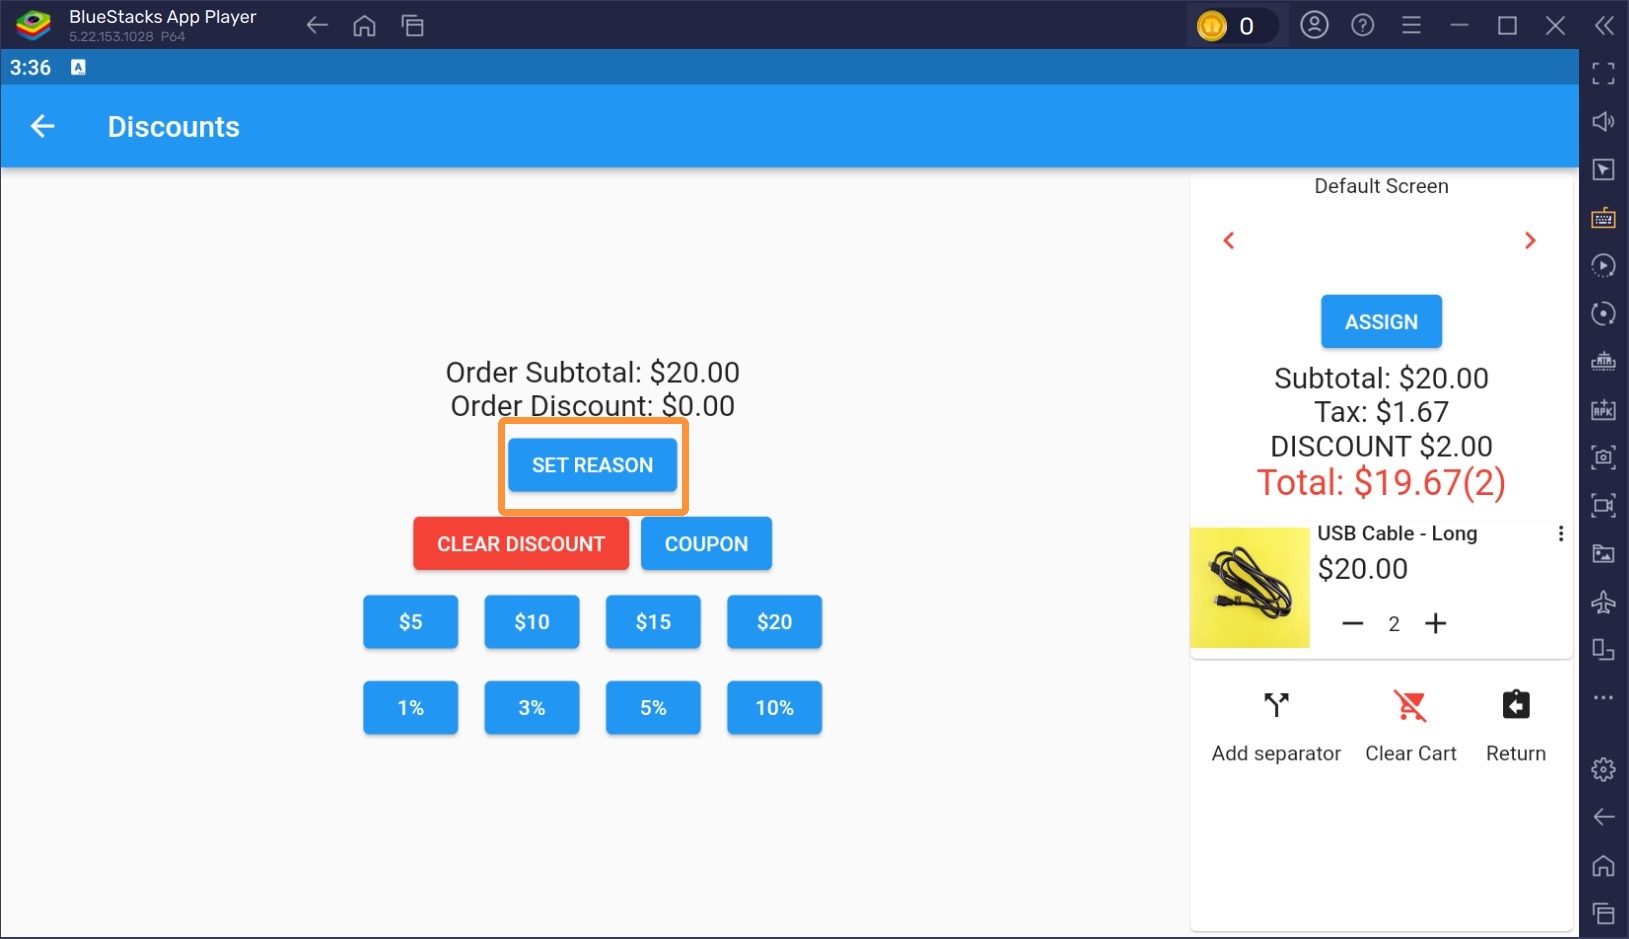
6. Click “Set Reasons”
7. Here you should be able to see the discount reasons that was set in the backend settings.
Select the discount reason, click ok and pay to complete the order